Lab 03: Setting Up Virtual Machines, Practicing With Wireshark
Goals
- Be able to set up and work with a virtual machine: Sometimes we need to work as the root user, i.e., the administrator of a computer in order to complete certain tasks. While a normal user in a school environment is not allowed to act as the root user on a school computer, with virtual machine software, you can be a root user on the virtual machine. We will learn how to set up and use such virtual machines in this lab.
- Capture, save, and analyze network traffic using Wireshark: Wireshark is a piece of software that can capture, store, and analyze network traffic. With GUI provided by Wireshark we can capture and examine network frames. We will write our own C program to analyze the frames saved by Wireshark in a later lab.
1. Directory and file set-ups
- Create a
lab03 directory under your csci363/labs/ directory.
- In your lab03 directory, create a text fie answers.txt which will contain the answers to the questions for this lab.
- Add all current files in lab03 to your git repository.
2. Set up virtual machines in Bucknell's computing environment
This set of instructions guides you through the steps needed to set up a virtual machine in Bucknell's labs. For a general description or discussion of virtual machines, please see other documents, for example, articles from Wikipedia or PC Magazine.
- Go the website, https://mynode.bucknell.edu. Login with your Bucknell credentials. This is the management site of Bucknell's virtual machines.
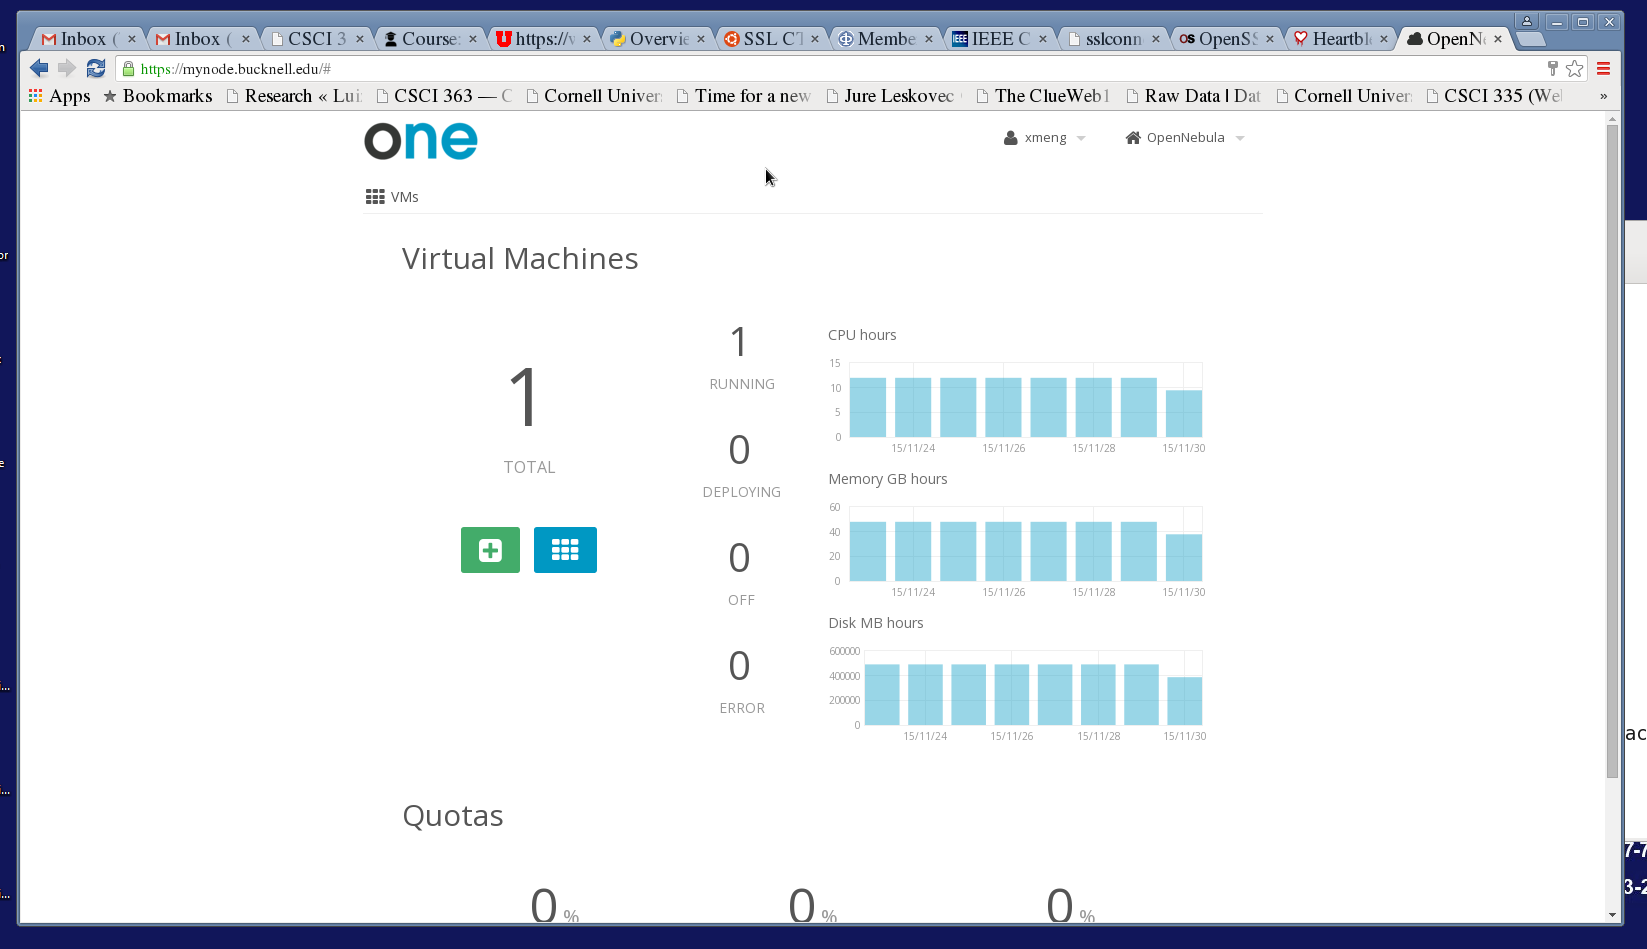
Figure 1: A Typical VM Home Screen After Login
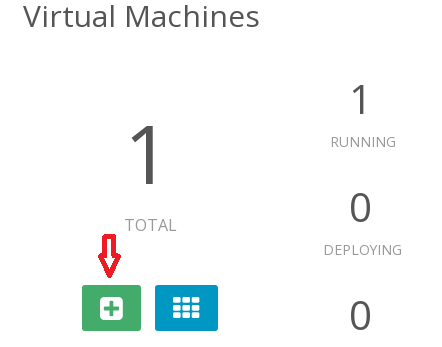
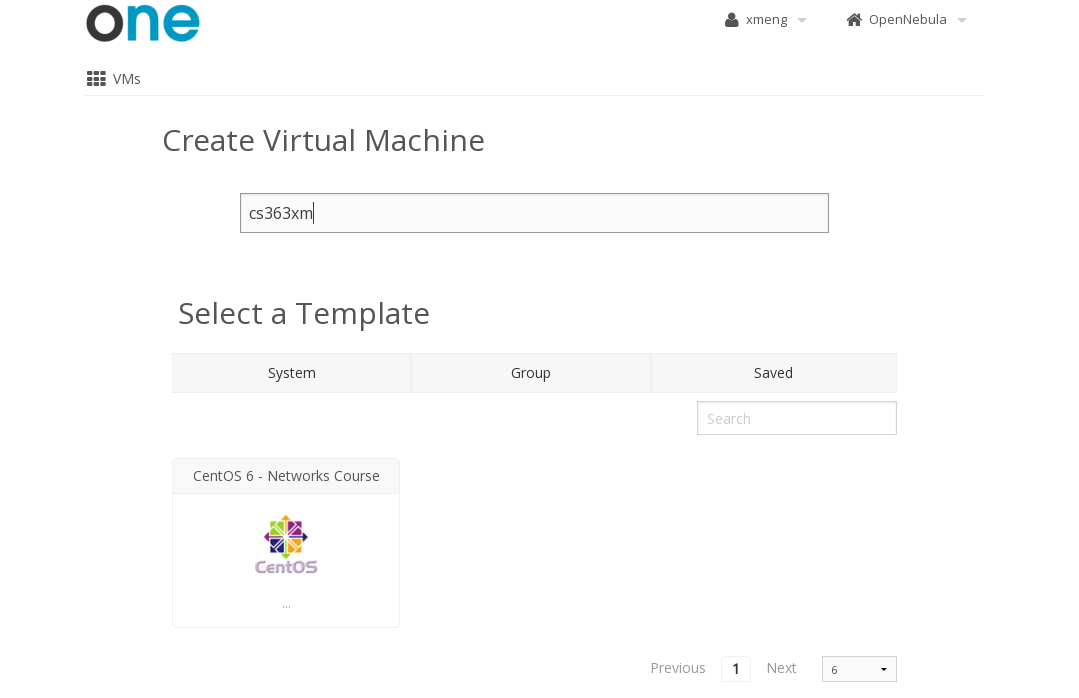
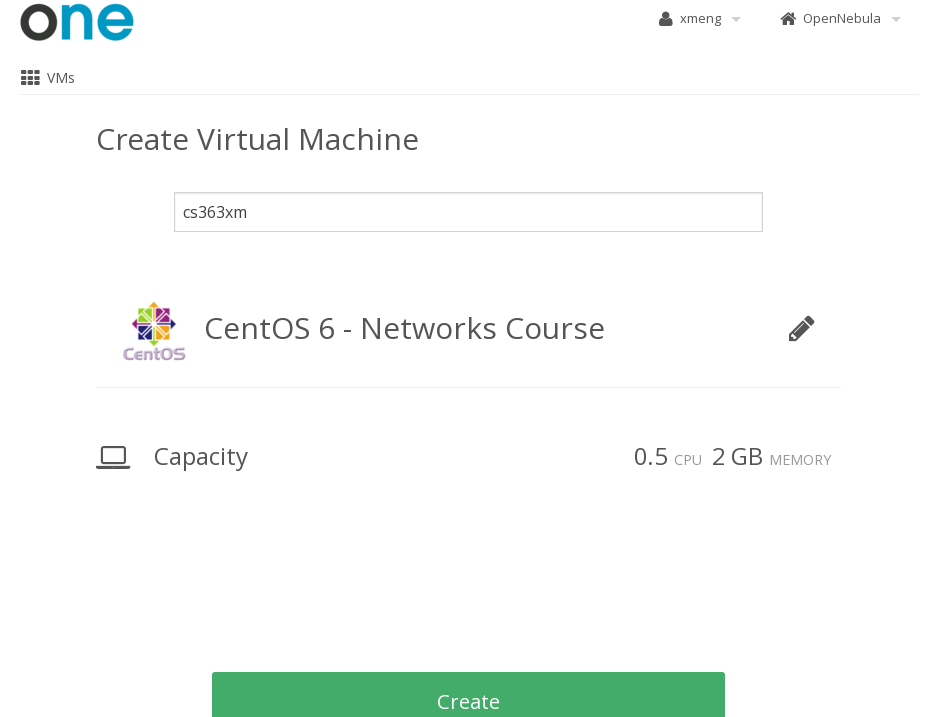
- Once on the site, you need to create a virtual machine for your use. Currently one user can have only one virtual machine. Follow these steps to create a virtual machine for yourself.
- After a VM is created from the VM management website, you can use the VM as if it is a regular Linux machine. The VMs have their own special IP addresses, typically in the range of 172.20.20.X. The last byte of the address is assigned to each VM created, e.g., 172.20.20.45. Each IP address for the VMs is also mapped to a symbolic name which reads something like mynode-720-X where X is the last byte of the IP address, e.g., mynode-720-45.
- You can now use the VM you created as a regular Linux machine by remotely logging into the VM as a root user.
current-host % ssh root@mynode-720-45 <enter>
You can also create normal users of your own.
3. Capture Network Traffic Using Wireshark
Background
This set of instructions describes how to use the existing (and popular) software Wireshark to capture network traffic. We assume that students have proper access to the Wireshark software. At the end of the exercise, students should be able to generate a packet capture file of their own that contains the network traffic of a few tens of packets.
Steps to generate a packet capture file
- Log into the virtual machine you just created. You can do it in multiple ways.
- If you are on a school Linux machine, simply do
ssh root@mynode-XXX-X, where XXX-X is the node number given by the system when creating your VM, e.g., 720-10. Yes, you are a root user of the VM you created.
- If you are on a school Windows machine, you may have to start an X-terminal (or the X-Window), then log into your VM as above.
- If you are on your own lap-top, use one of the two above approaches to log in. Or use other terminal emulator to get into Bucknell's computer first, then log into the VM.
- At the VM terminal window, type
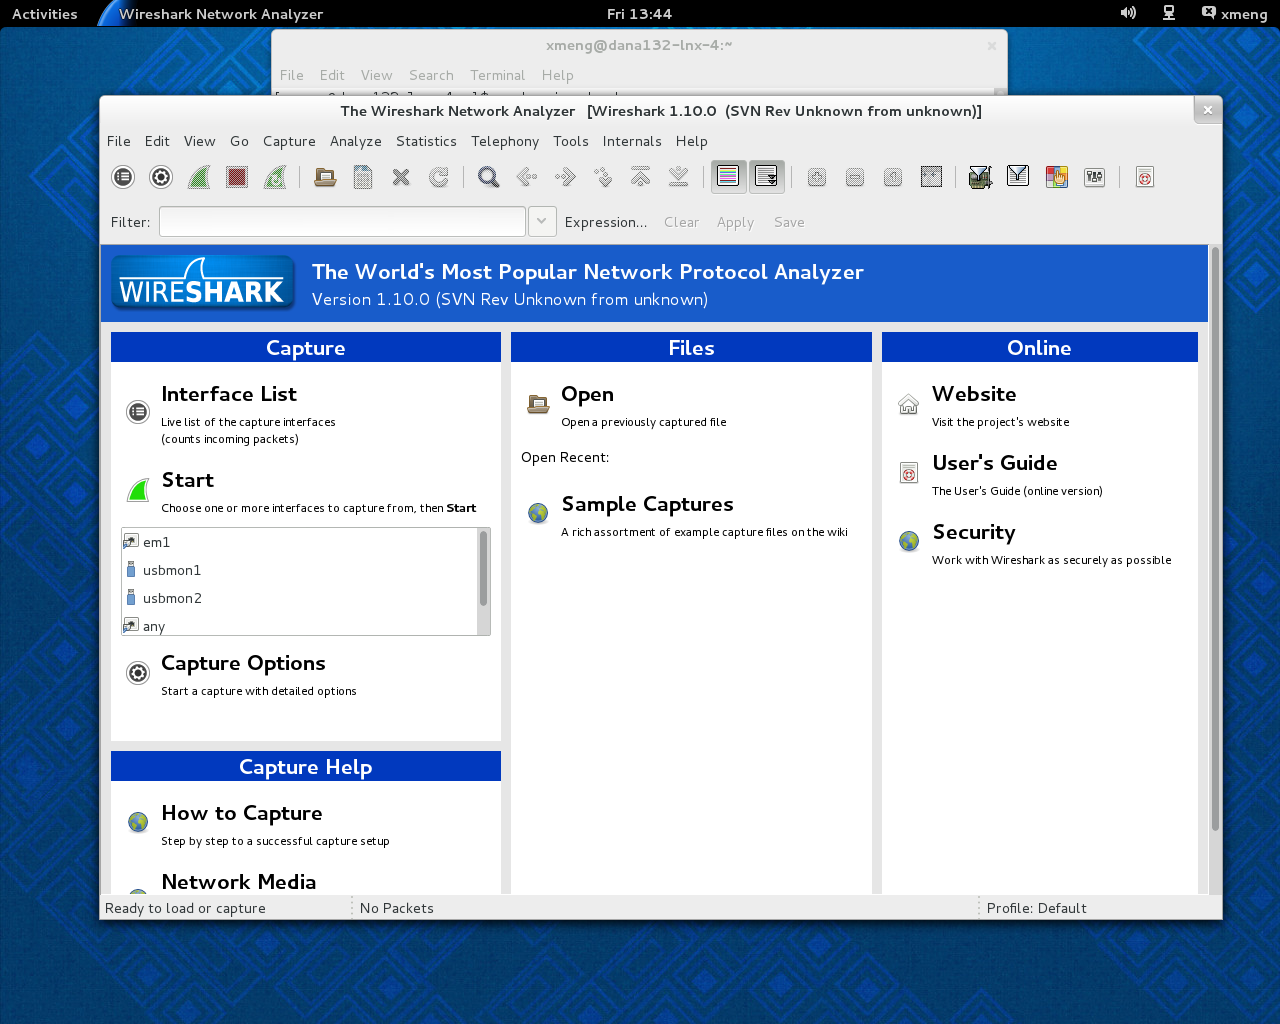
wireshark, the wireshark program will start. You should see an initial screen similar to the following.
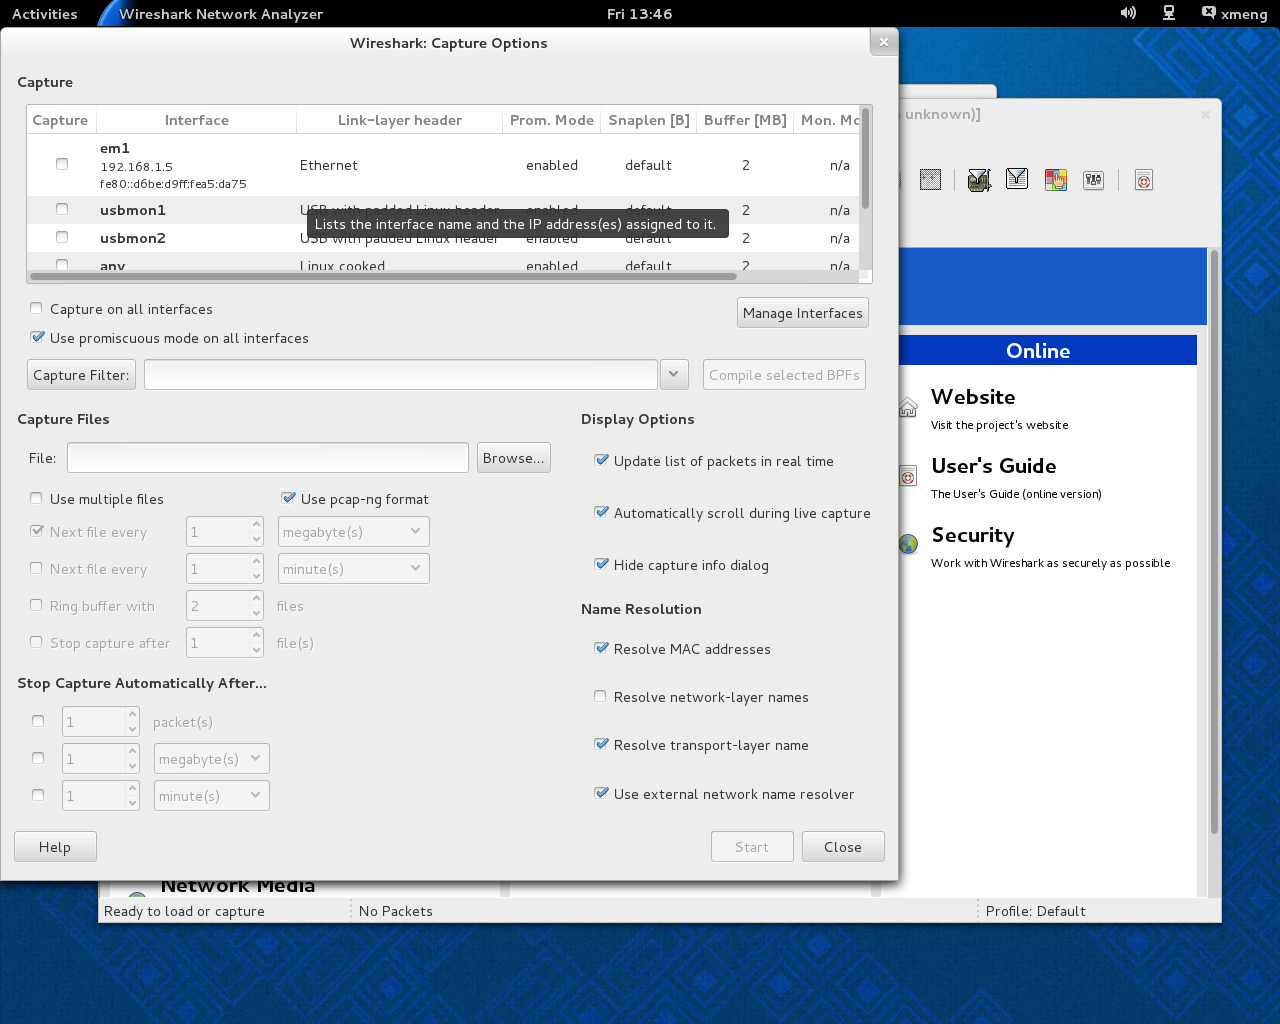
- Now we want to set some options for the software so the data can be used in our analysis program. Click the menu bar
Capture and choose Options under the Capture menu. You will see an interface similar to the following.
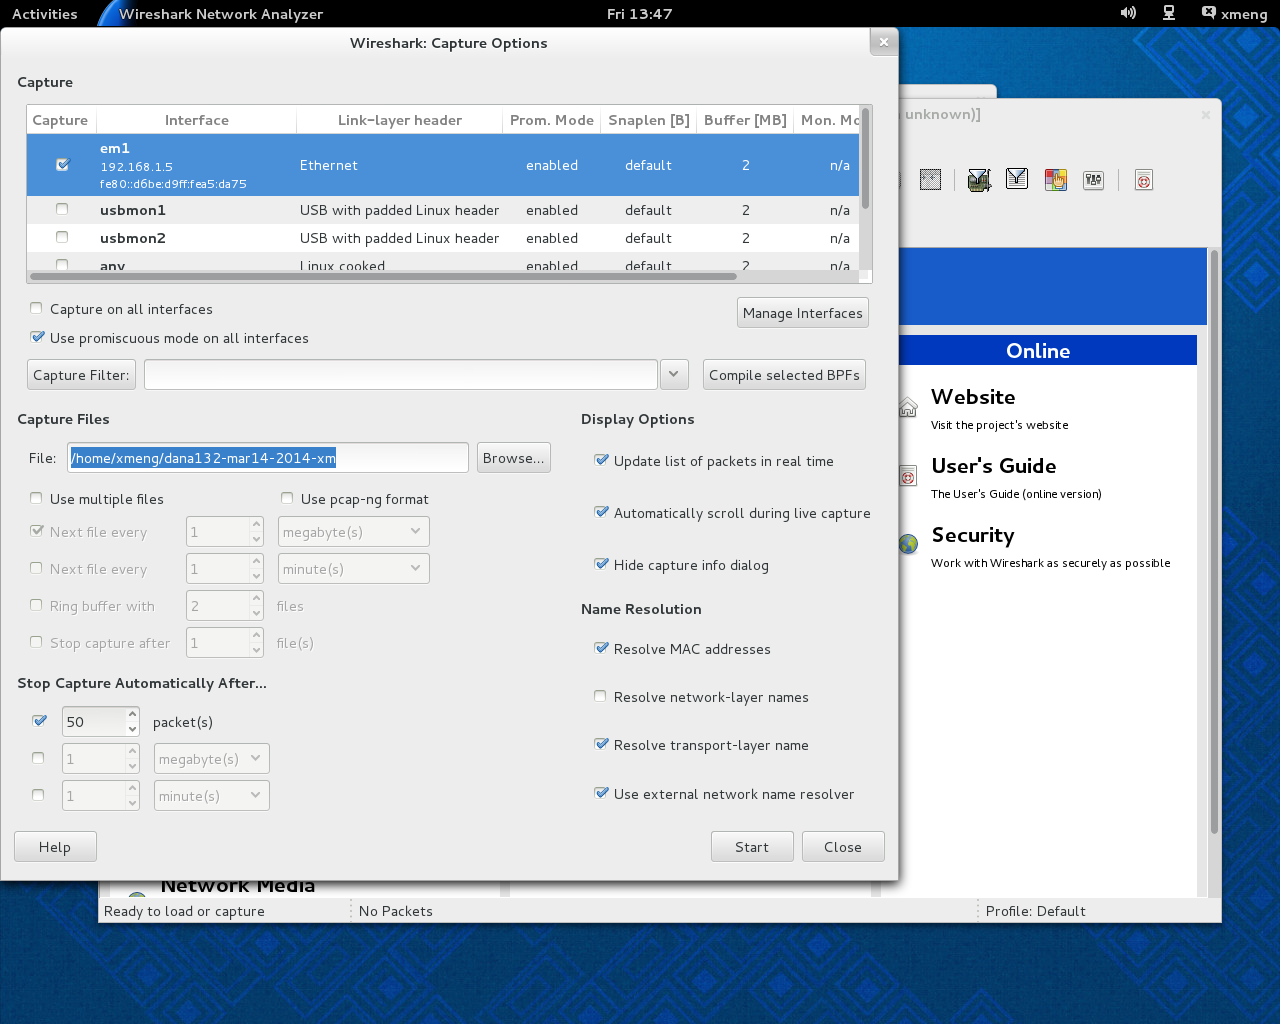
- In the Options menu, click em1 as the capture interface near the top of the screen; uncheck the Use pcap-ng format in the middle of the screen; set a reasonable count of packet (e.g., 30) for the option of Stop Capture Automatically After ... at the lower left corner of the screen.
- After these option settings, the Option screen looks similar to the following. At this point, leave the Capture Files option blank. That is, do not specify any capture file through this interface.
- At this point, click the Close button, which should bring you back to the start screen. Click the green Start button in the middle of the Wireshark initial screen, the software now is ready to collect network packets.
- Start any network application from within the VM, for example, a browser to visit any of your favorite websites until the packet count reaches the specified value when the capture will stop.
- In the Wireshark main screen, click the File menu bar and choose Save or Save as to save the captured packet file. Give a reasonable file name, e.g., march14-2014-xm to indicate the date of the capture. The software should add an extension of .pcap itself.
- Now transfer the file from the VM to your main Linux computer account by using the sftp program.
sftp your-user-name@linuxremote
cd your-csci363-lab03-directory
put march14-2014-xm.pcap
- You can now run your packet analysis program using the newly acquired data.
4. Examine the content of captured frames
Problem 4.1 Wireshark exercises from the textbook authors
While we will write our own programs to analyze the captured frames, for now we can use the GUI provided by Wireshark to examine the content of these frames. Follow this link to the next part of the lab. Write your answers in answers.txt as Problem 4.1
Problem 4.2 Additional Wireshark exercises
Problem 4.2a
Copy your simple webserver/client program pair to your virtual host machine (e.g., mynode-720-123 using sftp or any other your favorite program. Then do the following exercises.
- Start the Wireshark program.
- Run the webserver on your local Linux machine using your assigned port number.
- Start the capture function within Wireshark.
- Run the webcilent program on your virtual machine to retrieve any page from the server you just started, e.g., default.html.
- Run the webcilent program on your virtual machine to retrieve the Wireshark lab page /wireshark-labs/HTTP-wireshark-file1.html from the host gaia.cs.umass.edu.
- Set the filter in Wireshark for HTTP only.
- Answer the following questions by examining proper values in the Wireshark output. Write your answers in answers.txt as Problem 4.2a
- Can you find the HTTP packets information such as HTTP commands or the path to the requested file from within Wireshark for both requests, one to UMass, on to your own server?
- Explain briefly what you observed. Discuss it with your neighbors or with your instructor your answers.
Problem 4.2b
- Clear the current window in Wireshark by restarting the capture without saving.
- Start an application that would require DNS service, for example, by going to the web site http://www.example.org or running sftp to
linuxremote. Make sure you use your own user name in ftp, e.g., sftp abc123@linuxremote
- In the Wireshark window, set the filter to be "DNS" and explain what you see. Write the answers in your answers.txt as Problem 4.2b
- What is the IP address of the DNS server for your node?
- Explain what the range of this IP address is used for. You can search the Internet for answers.
- Print the content of the frame to a file by using
File->Print, choose Selected packet only, choose Packet summary line. Include the content of this file in the answers.txt
Add, commit, and push the answers.txt which should contain all the answers to the questions in the exercises.